The good news is that a lot of these barriers of the Bad Old Days no longer apply. The accessibility of open source projects providing dynamic object oriented and functional programming languages, and libraries for graphics, networking, and all the other stuff that used to require tons of reinventing of the wheel for every project, makes it much easier to get started, and eventually produce prototypes and working products.
I know that seeing is believing, but I don't have much to show you today. Instead, I'll tell you about the first step of your journey, and whet your appetite for more.
Getting Started with Blender
First, go visit blender.org and download the latest version of the Blender open source 3D modelling, animation, game logic and physics engine GUI. Using Blender, it's possible to make some impressive standalone games, and there are also a few templates that allow for networked multiplayer games using sockets in custom Python scripts.
For now, we'll use Blender to create the simplest "hello world" game you've ever seen.
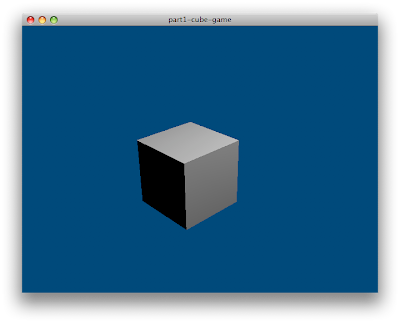
Start by opening Blender, and create a new file. The scene should automatically be populated with a cube, a light source, and a camera. Switch to the Camera view, and you'll see the cube from an angle, and a few faces of the cube will be visible all at once. Now, press the P key to run the Blender Game Engine. The editing interface with grid lines, menus and buttons disappears, and you see your cube floating in space. It looks pretty boring, but that's OK, because this is just a simple demonstration. Down the road, you'll be adding things to it like keyboard and mouse control, manipulation of AI-controlled objects, and physics. For the purposes of this demonstration, a simple non-interactive cube will suffice. Now, pull down the File menu, and select the "Save Game as Runtime" option. Save to an appropriately-named executable for your operating system (Windows users will want to append a .exe, etc). Now, go run your "game" and you should see something like this:

Imagine for a moment that your simple cube is actually a prototype or mock-up of a complex, immersive game, with lots of bells and whistles. All that you need to do in order to make it available for players to download and try out your game is to upload the executable (maybe zip up the .exe and all the copies of necessary .dlls, in Windows; Mac OS X users would probably make a disk image of the .app folder) to your web site. Thus, the distribution and installation problems are licked - they just download it, unpack it, and run it. For these prototypes and mock-ups, no fancy software installer or patcher/updater is needed.
And best of all, you didn't need to write a single line of code. How's that for novice-friendly?
I'll have more articles soon about some of the other concepts that I want to cover, and I'll update this post when more are available, and this will serve as a Table of Contents to link to the whole series.
Other Noteworthy Links
Here are some links to tutorials about Blender, and its Game Engine:
- 25 Blender Tutorials - more info than you can shake a (noun) at
- Blender 3D: Noob to Pro on Wikibooks
- Blender wiki - Game Engine tutorial


